Tips for Long Exposure Photography
Anyone with a DSLR can take pictures of the Milky Way at night and of a waterfall during the day with a milky, flowing effect created by long exposures. Here are a few things to know about long exposures to help get you started.
LIGHT- The key to all photography is light and understanding three basic functions of your lens; Aperture, Shutter Speed and ISO. A camera lens is the eye of the camera and all three parts work together to give you the right exposure for the desired effect.
*APERTURE- the aperture is the pupil of your lens. The "wider" it becomes, the more light it lets in. F/stops are fractions so the bigger the number, the smaller the "pupil". For example, an f/3 aperture setting is considered "wide open" and resembles a dilated pupil because it lets the most light in. However the amount of subject that will be clear and in focus is very small. In contrast, an f/22 aperture setting has a very tiny "pupil" opening and lets a small amount of light in, but most if not all of the subject will be in focus. It can be counter-intuitive because you'd think f/22 would be a larger number meaning the opening of the lens would be bigger, but if you think of it as 1/22th you can see that's a smaller number than 1/3rd.
The aperture mode on the selection dial will appear as "A" on Nikon and "AV" (Aperture Value) on Canon.

Here's a "wide open" shot at f/3:

More light is let in with a more "dilated pupil", but less subject is in focus. In this photo, I centered in on the girl's cell camera as the focal point. (c) 2016 Amy Proctor
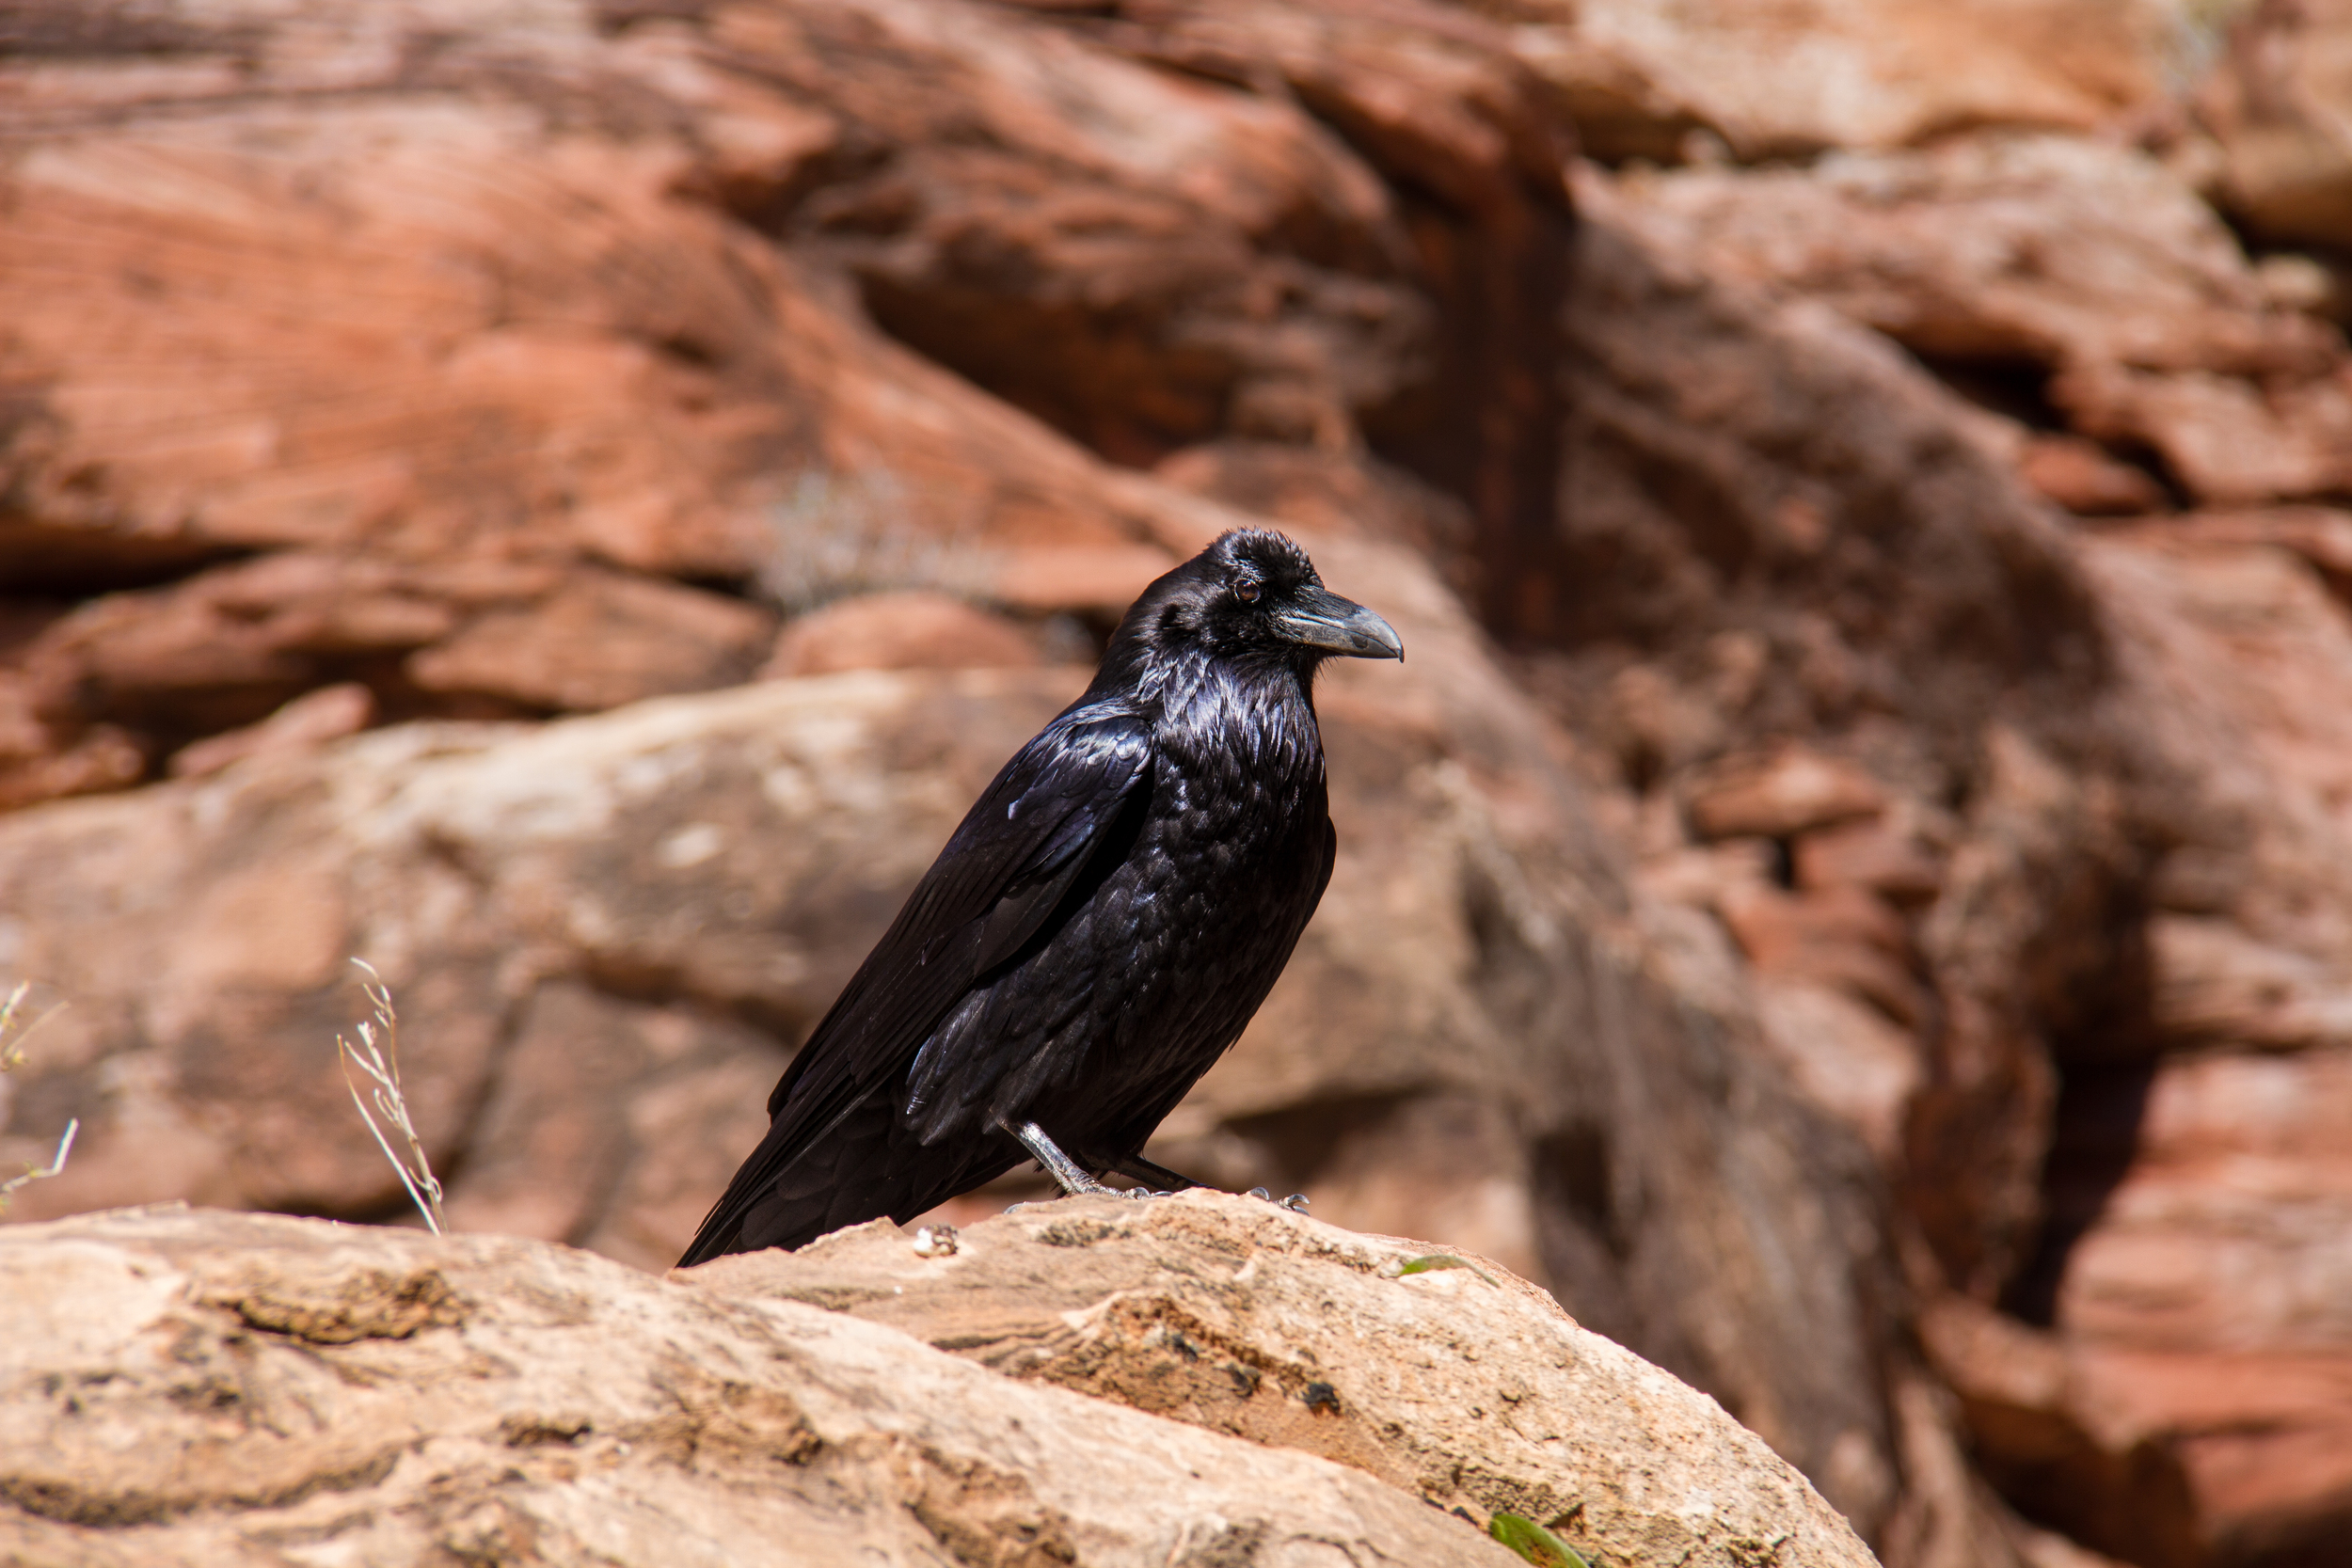
Here's a shot at f/8;

Less light enters the lens (it's a sunny day so it works well) but both background and foreground in focus. (c) 2016 Amy Proctor
*SHUTTER SPEED- the shutter speed is eyelid of your camera lens and controls blinking. It determines how fast or slow the "blink" will be. The faster the shutter speed, the less light enters the lens but more still the subject will be (as with a quick "blink"). The slower the shutter speed, the more light enters the lens and the less still the subject will appear (compare with the movement you see with the naked eye when you leave your eye open for 3 seconds instead of 1/200th of a second).
The shutter speed mode on the selection dial will appear as "S" on Nikon and "TV" (Time Value) on Canon.
Taken at 1/120th of a second stops most of the action for a still picture:
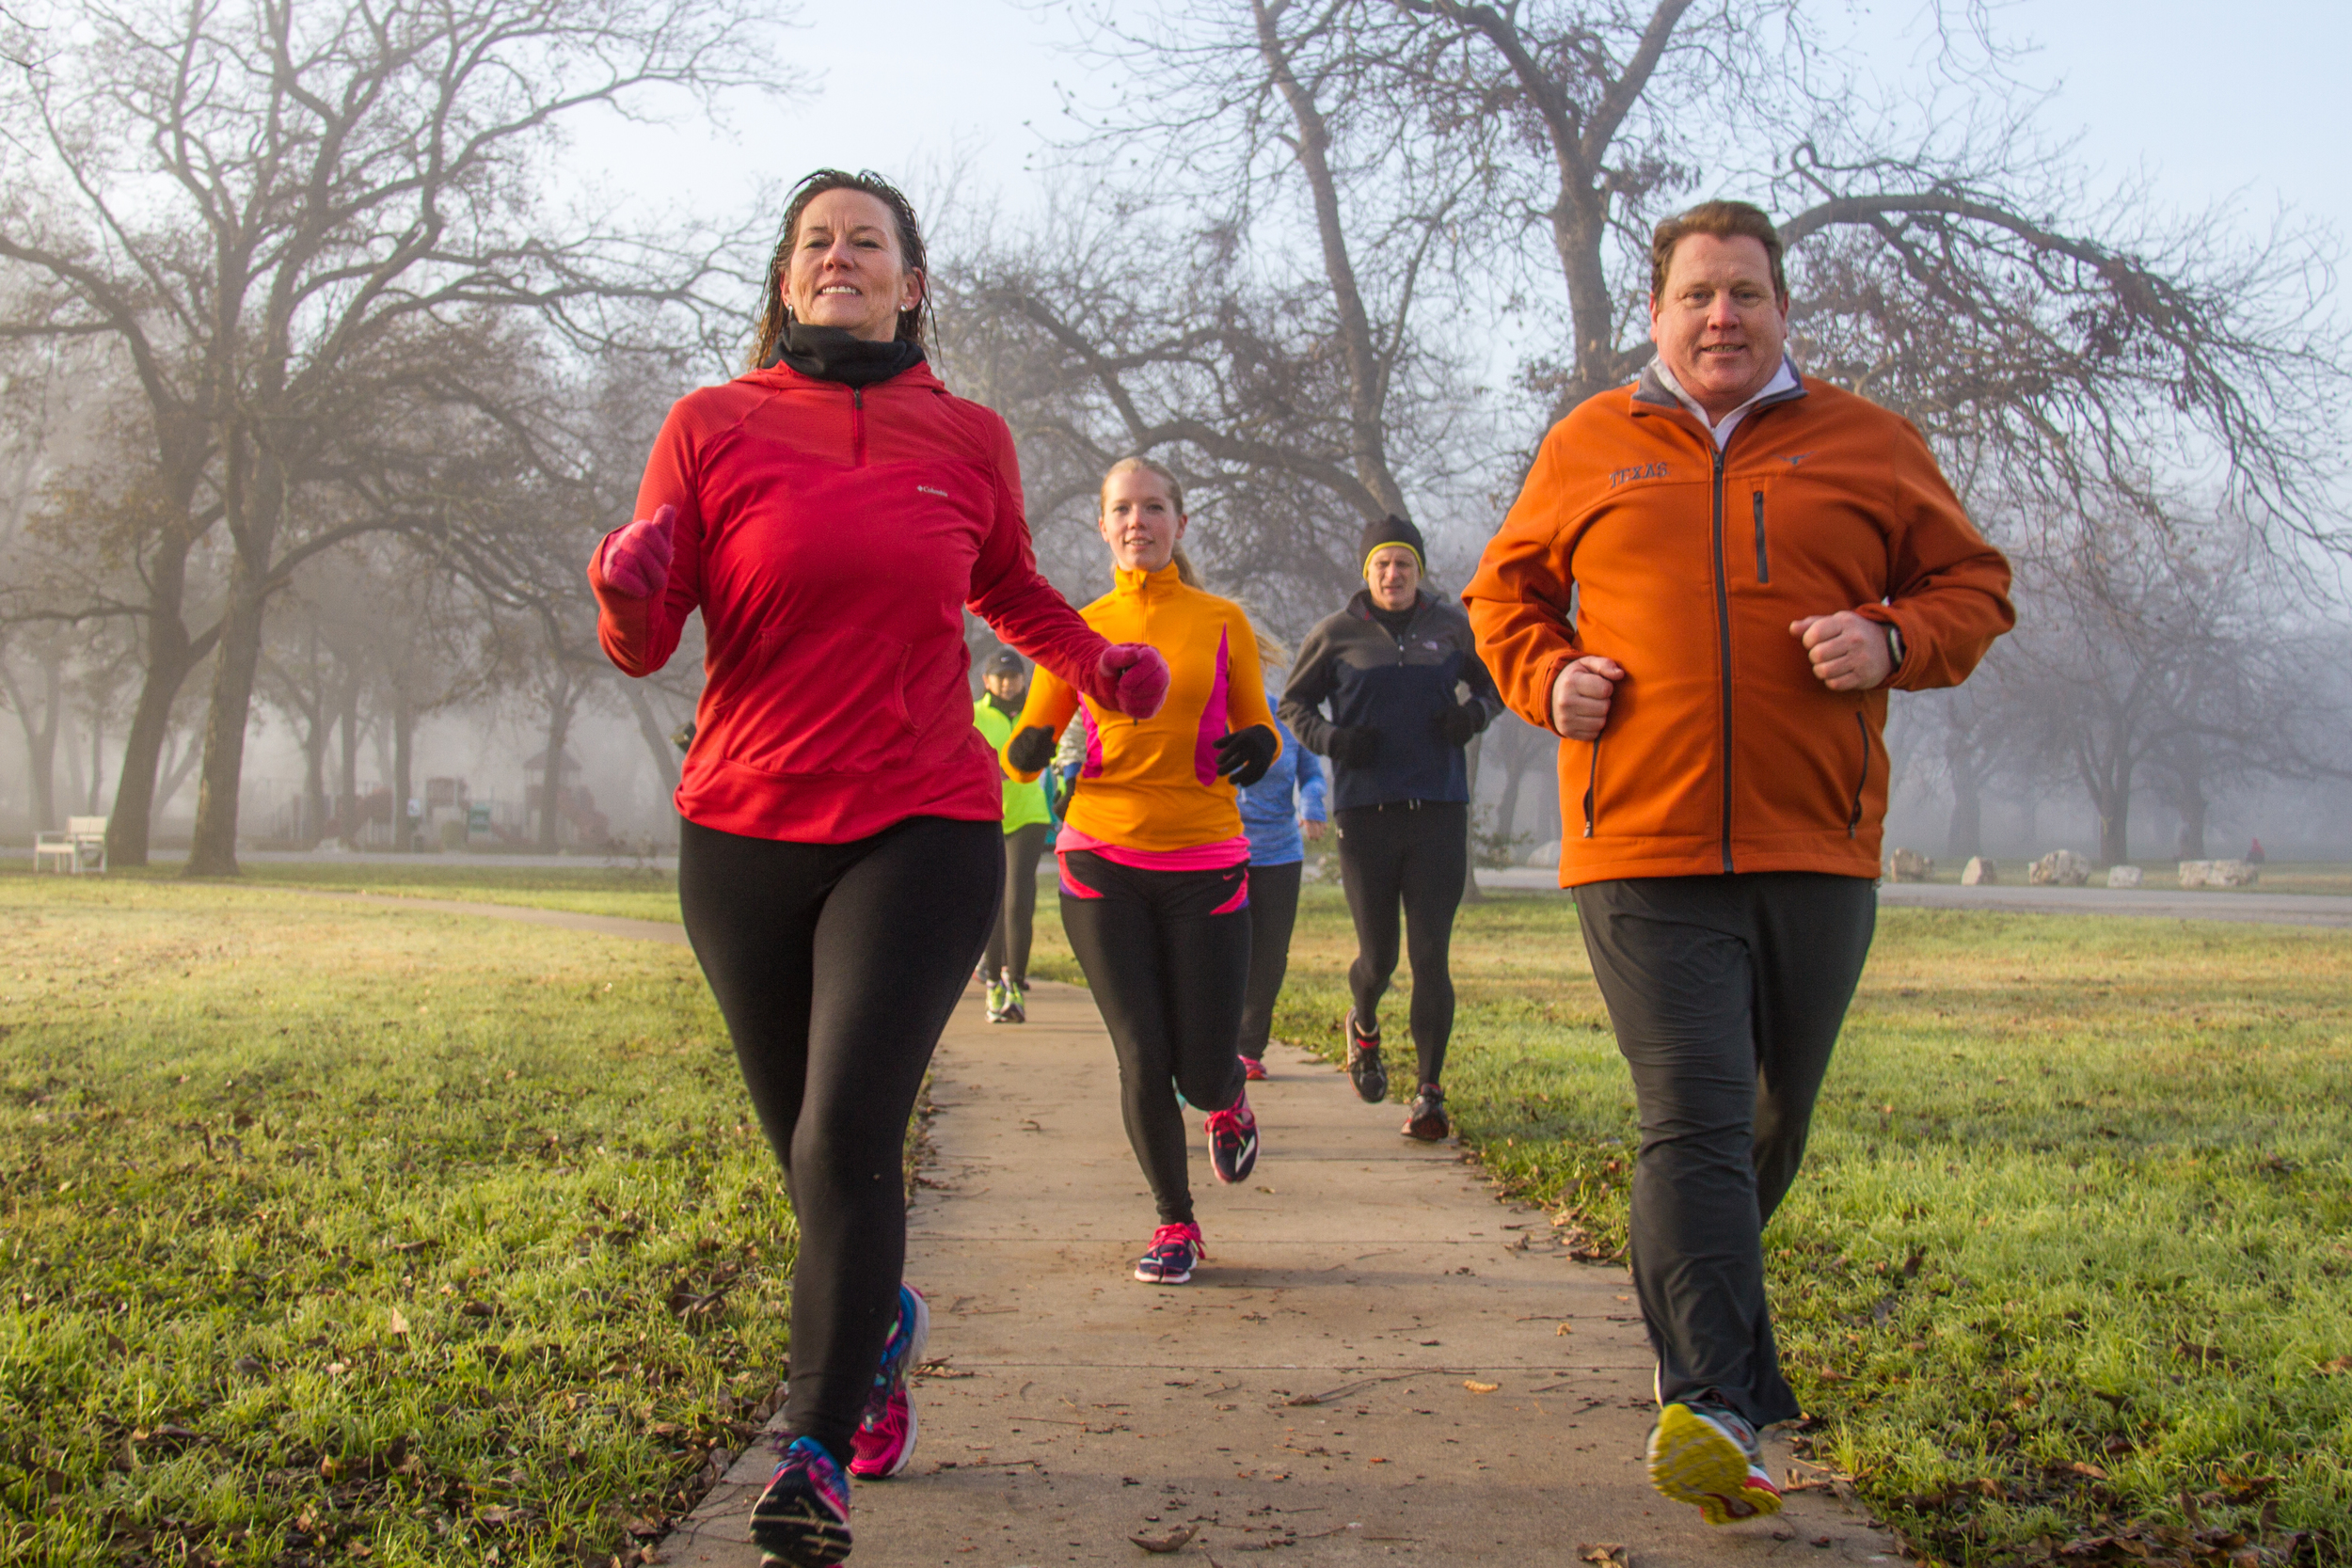
1/120th of a second is a quick "blink" that lets in less light but freezes the action. (c) 2016 Amy Proctor
1/8th of a second is a slower shutter speed:
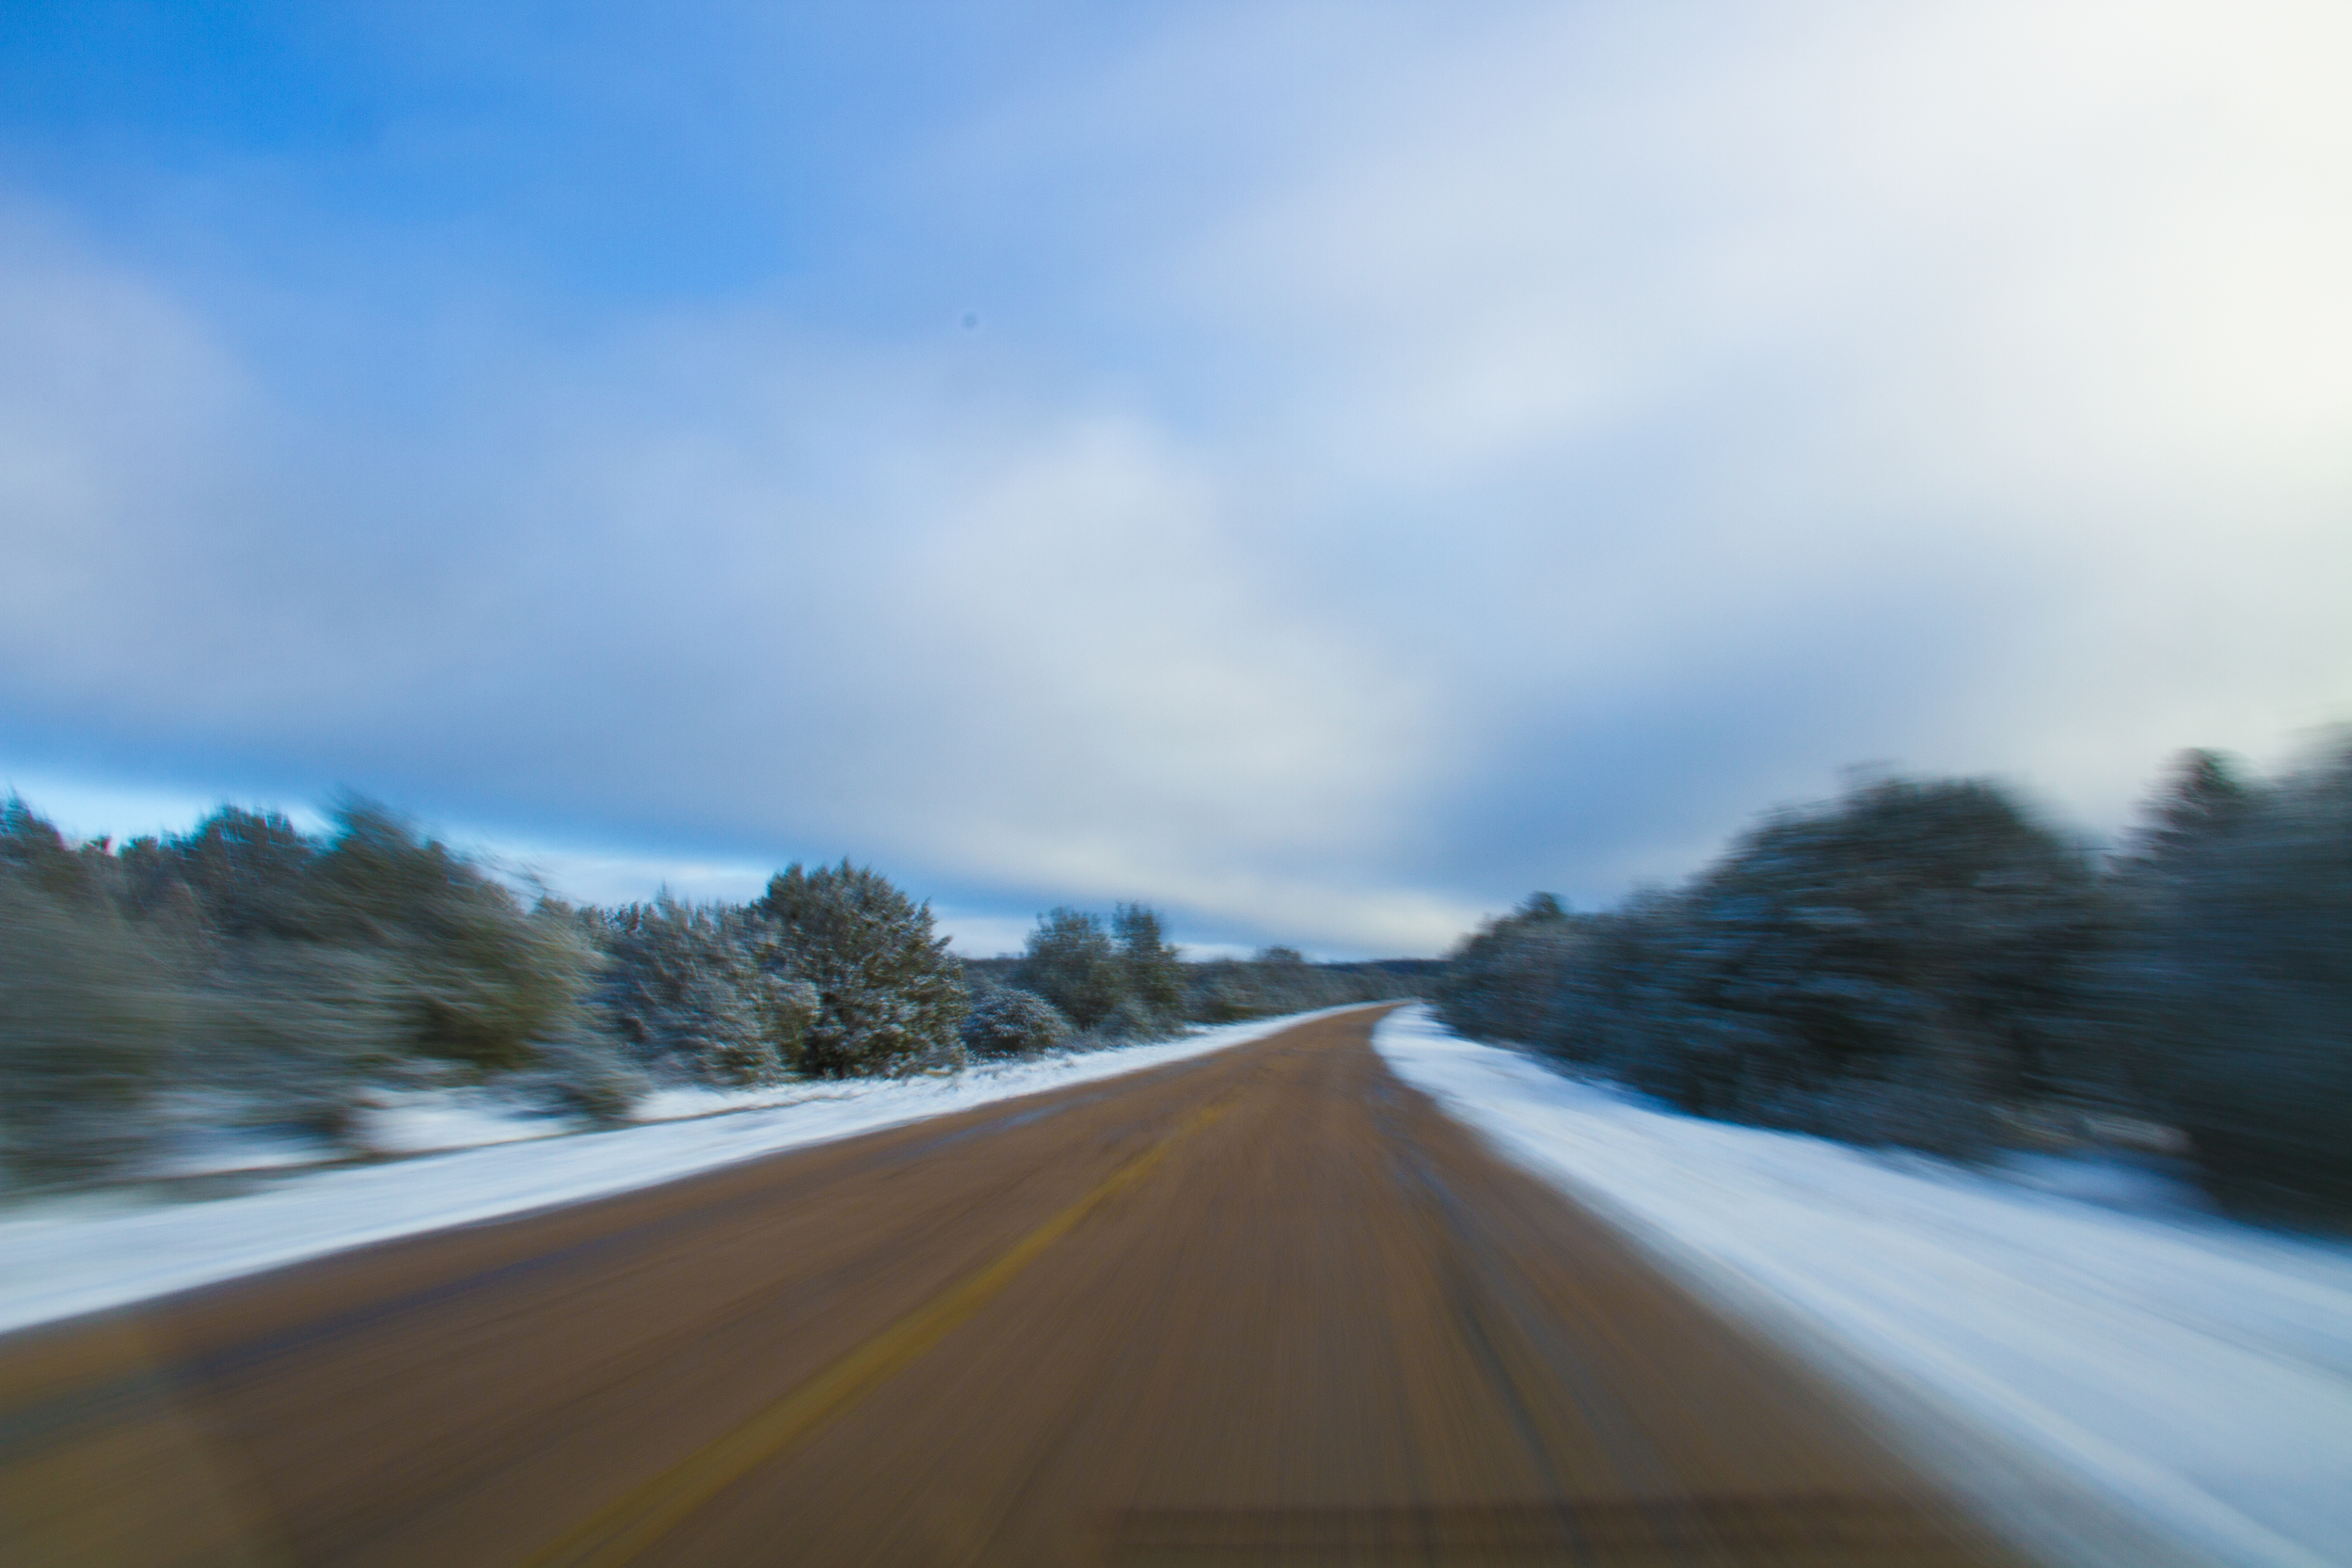
1/8th of a second is a slower "blink" letting in more light but allowing a blurring effect. (c) 2016 Amy Proctor
*ISO- this acronym technically refers to the International Standardization Organization, but for digital photography ISO measures the sensitivity of the image sensor. The lower the "ISO", the less sensitive the camera is to light and the better the grain. Higher ISOs will leave a photo grainer as it is more sensitive to light.
In terms of the "eye" analogy, I think of ISO as your eye's genetics. A 1600 ISO means your vision is poorer, as it'll be grainer, where as 50 or 100 ISO is like 20/20 vision.
100 ISO:
100 ISO creates a sharp, crisp image. I shot this in Shutter Priority mode at 1/125 sec to ensure a minimum of movement from the subject. (c) 2016 Amy Proctor

A higher ISO like 1600 lets in more light but the sensitivity to the lens makes the image grainy. (c) 2016 Amy Proctor
LONG EXPOSURE- Night Photography
Let's say you want to shoot the Milky Way. It's completely dark and you're ready to shoot. This will obviously require a long exposure, and there are several adjustments you must make to your camera setting.
- ALWAYS SHOOT LONG EXPOSURE IN MANUAL MODE (not Shutter mode or Aperture mode, etc)
- Turn Auto-Focus OFF. Your lens should be set to MF, or Manual Focus.
- Turn off your lens' "IS", or Image Stabilizer, if so equipped.
- Turn on your camera's shooting mode to 2 or 10 second timer. That way you will avoid shaking the camera when pushing the shutter button and achieve a clear picture with no shake.
- Set your ISO to 2000 (anywhere from 1600-3200 will work depending on the circumstances).
- Set your Shutter Speed to 20 or 30 seconds.
- Set your focal point to "Infinity". On a Nikon lens, the "Infinity" sign looks like an elongated number 8.

On a Canon lens, the "Infinity" sign looks like an "L".
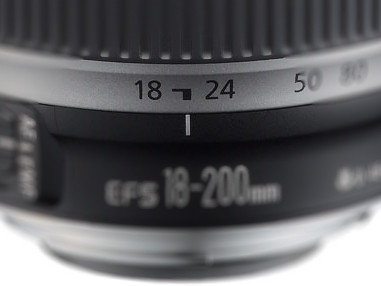
The "Infinity" mark essentially means your focal point is as wide as it can be. If you have an 18-200mm lens, the "Infinity" will be at the 18mm mark on the lens, or as far to the right as you can turn your lens. Your camera's zoom must be completely out as far as it can go so it can capture a wide shot and "zooming out" will be where your "Infinity" mark is.
The rule of "600" applies to determining your Shutter Speed. If you have an 10-22 mm lens, take 600 and divide it by the 10, which would be your Infinity mark. 600 / 10 = 60, which means you could have your shutter speed set to 60 seconds.
I find that the rule doesn't always work to an exact science. I usually keep my shutter speed to 15-25 seconds because more than that will leave you with "star trails", as the stars move in the sky leaving a blurry trail behind them.
Here are the settings from this image taken at Arches National Park in Moab, Utah:

The Milky way at Arches National Park in Moab, Utah. (c) 2016 Amy Proctor
- Aperture (f/stop)- f/3.5
- Shutter Speed- 20 sec
- ISO- 3200
- Focal length- 18mm
LONG EXPOSURE- Day Photography
Shooting long exposure during the day poses challenges if you don't have the right gear. Unless you're shooting a waterfall in the woods where it's already dark, you'll almost certainly need a Neutralizing Density Filter. An ND Filter acts like sunglasses for the "eye", which is your camera lens. It cuts down on the amount of light passing through your lens allowing you take a longer shot in sunny or bright conditions. ND Filters are sold in a variety of light reducing f/stop increments, such as this one which is a Variable ND Filter providing 2-8 stops of light control. This is an 8x ND Filter , for example, that is not variable and provides a fixed reduction in light by 3 f/stops.
I highly recommend buying an UV Filter for your lens. It cuts down on glare and UV rays but most importantly acts as a clear, transparent protection for your lens. I had a friend once drop her camera and the fall would have destroyed her lens but her UV Filter took the hit and shattered. The lens, however, was perfectly fine. You can always replace a $40 UV Filter, but a $1200 lens?
B&H has a good tutorial on different filters that I recommend.
SET UP TO SHOOT IN LONG EXPOSURE:
- ALWAYS SHOOT LONG EXPOSURE IN MANUAL MODE (not Shutter mode or Aperture mode, etc)
- Turn off your lens' "IS", or Image Stabilizer, if so equipped.
- Turn on your camera's shooting mode to 2 or 10 second timer. That way you will avoid shaking the camera when pushing the shutter button and achieve a clear picture with no shake.
- Set your ISO to 100 (or 50 ISO if your camera allows). Set to a higher ISO if the image is too dark.
- Set your Shutter Speed to 2 seconds.
- Frame the scene as desired by zooming in or out (it doesn't matter as it does with night photography...no "Infinity" focal length needed).
Here are some examples:

A 2x ND Filter prevented overexposure as the shutter stays open longer to achieve the flowy effect of the water. (c) 2016 Amy Proctor
- Aperture (f/stop)- f/13
- Shutter Speed- 1.6 sec
- ISO- 100
- Focal Length- 18mm
- ND Filter - 2x

- Aperture (f/stop)- f/13
- Shutter Speed- d sec
- ISO- 100
- Focal Length- 18mm
- ND Filter - 8x

This was a bright scene so I had to push the aperture to f/29 to let as little light in as possible as well as shorten the exposure time to 1 second to avoid overexposure.
- Aperture (f/stop)- f/29
- Shutter Speed- 1 sec
- ISO- 100
- Focal Length- 70mm
- ND Filter - 8x
I highly recommend Adobe Lightroom as a default editing program. It's very simple and user friendly, giving you simple adjustments for shadows, overexposures, clarity and vibrance, tweaking your image to let the viewer see it just as you did on location. You can buy both Adobe Lightroom and PhotoShop for $9.99 per month or buy Lightroom 6 on Amazon and own it yourself.
The key to good photography is trial and error. These specs and rules may not work exactly for your situation every time due to light changes, shade, etc,. so experiment often to have an intuitive relationship with your camera.
Feel free to leave questions or comments in the Comment Section below. God bless!